Setup B2 (Part 3)
Why use cloud storage?
You’re probably paying good money for a web host/server for your church’s website. It comes with a few hundred megabytes, maybe even a gigabyte of storage space. Why do you need another account on another system?
For a few years, I was uploading MP3 files of sermon recordings onto my church’s web host. It worked well, and the media uploading interface in Wordpress meant that it could happen without thinking. However, I started to run out of space. It may have been due to backups, or because there are a couple of churches hosting their sites on the same server, but it was clear that we either needed to pay for more space or find a cheaper solution.
I looked into a few solutions.
- Dropbox/Google Drive. They are easy to use, in fact, you’re probably using them already. However, they’re not designed for hosting audio for playing on a wordpress site. Or maybe they can, but I couldn’t see an easy way.
- Amazon Web Services. Lots of people use this, but they only offer(ed) a year’s free usage, and after that, there would be a (small) cost involved.
- Backblaze B2. It’s a direct competitor to AWS but it has a very generous free tier. Their free offer is more than sufficient for most churches. Without any cost (and without giving them your credit card details) you can store up to 10 gigabytes of files and have 1 gigabyte of download bandwidth every day.
How to setup B2
Once you’ve signed up for B2, it doesn’t take much to get started.
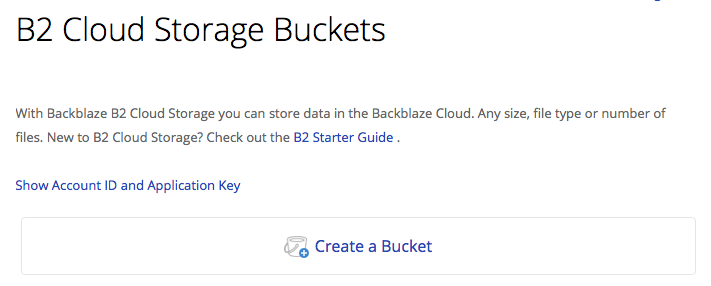
The first thing you need to do is a create a bucket. For some reason bucket is the word used for a top-level folder. You’ll want to make a bucket named something like ‘SermonAudio’.
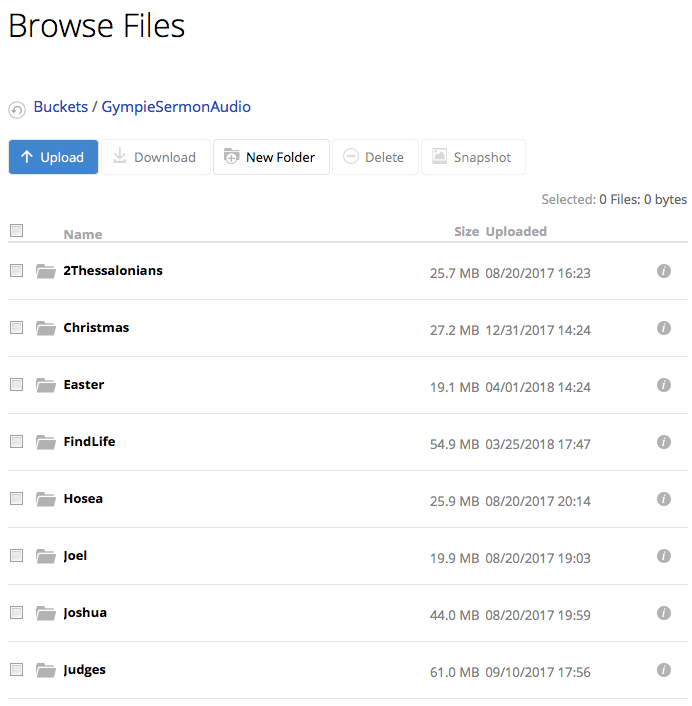
Once you’ve made a bucket, you need to think about how you’re going to organise your recordings. If you were using Wordpress previously, you didn’t need to do this. Wordpress automatically puts uploaded files into a Year/Month folder structure. On B2, you could drop all your straight int the bucket, but it will soon get out of control. What you probably want to do is either create folders for each year or a folder per sermon series. It’s important to think about this early because although you can change things later on, it will mean having to update any links to your files. Folders are created by clicking the ‘New Folder’ button above the file list.
How to upload files
Uploading a file is straightforward. Click the Upload button, and then you can either drag-and-drop the new file onto the browser window or click to see the file chooser window. (Here’s the official instructions.)
A little tip: once a file is uploaded you cannot rename it. So to rename a file, you need to change the name on your local computer and then upload a new version. Files can be deleted.
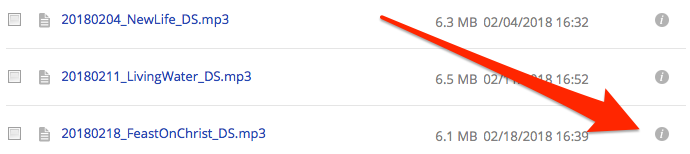
Once you’ve uploaded a file, you’ll need to get the URL so it can be linked from your Wordpress site. From the File List in Backblaze, click on the i (information) icon beside the file you’re interested in.
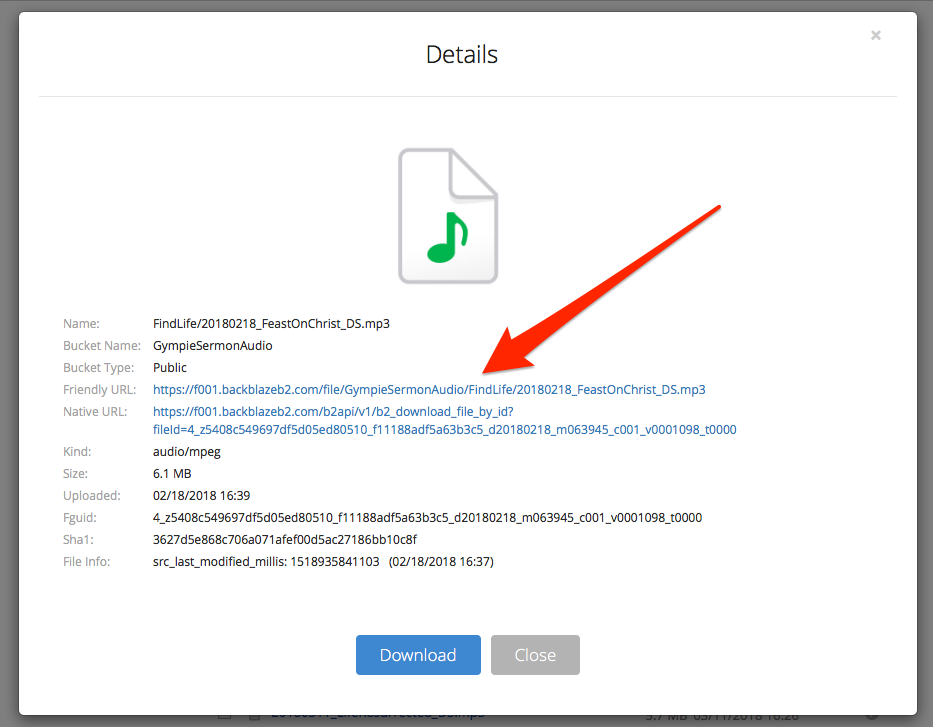
This will bring up all the information about this file. The URL you want to use within Sermon Manager is the Friendly URL. So ⌘-click or right-click on the Friendly URL and select Copy Link. You’ll use this link when to publish your sermon.
For uploading recordings to Backblaze, you can also use Cyberduck. The one trick with using Cyberduck is you’ll need to create an application key. You do this by clicking the link above the Create New Bucket button.
To use Cyberduck you’ll need your Account ID from this page, and you’ll need to create an Application Key. As the warning on this page says, you can only have one Application Key.

I reckon you should keep the one you generate in a safe place so you can use it with other services. Alternatively, be prepared to update the settings in all your apps every time you replace this key.