Setup Wordpress for Podcasts (Part 2)
This post assumes you have a working website using Wordpress running on a hosted server (i.e. not with http://wordpress.com). You need to be able to install plugins.
In this tutorial you will:
- Install and configure the Sermon Manager plugin,
- Configure FeedBurner for managing the podcast feed,
- Submit your podcast to the iTunes store and other podcasters.
Install and configure Sermon Manager
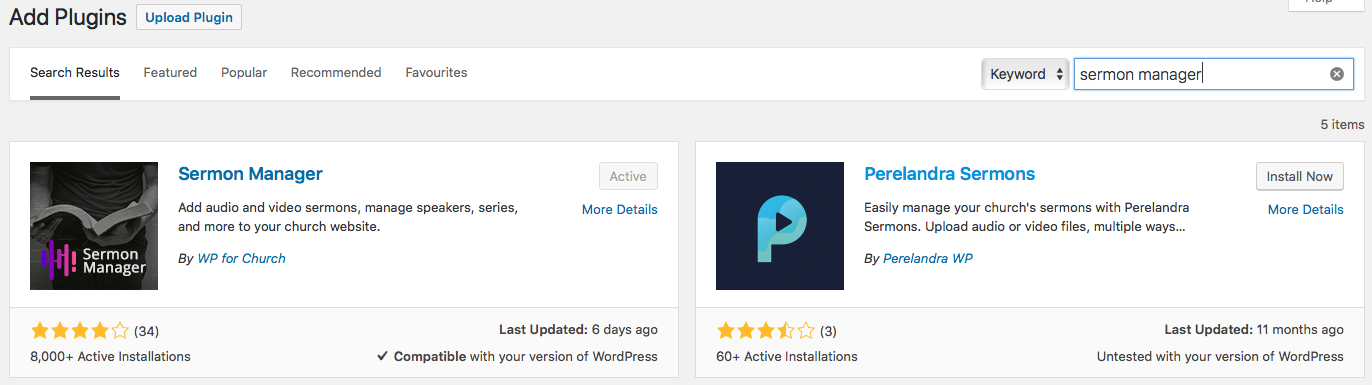
The simplest way to include recordings of sermons from a Wordpress site and to run a podcast is through using a plugin. There have been a few different plugins that have gained popularity over the years, only to be abandoned. Currently, the most popular, actively developed plugin is Sermon Manager.
Sermon Manager is available for free, though you can purchase support from the developers (WP For Church) for $29 per year. WP For Church also sells Wordpress themes which are designed specifically for churches, and another plugin that integrates Elvanto into your church website.
Installing the plugin is easy.
- Log into your Wordpress admin dashboard.
- In the left-hand menu, select Plugins->Add New
- Search for Sermon Manager and then click Install Now.
After you install the plugin, you’ll need to set up Sermon Manager to work on your site. In the left-hand menu, you’ll now see a Sermons entry.

The settings page is straightforward. In the General tab, you’ll want to take note of the Archive Page Slug. The entry here is the link where you’ll be able to find your sermons.
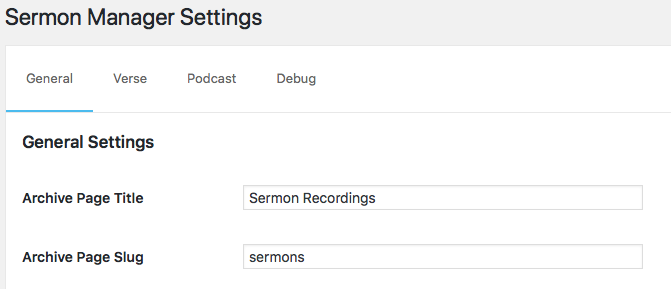
In this example the Slug is set to sermons, so that means you can find all the sermons for my church at https://gympiepresbyterian.org.au/sermons/.
There are other settings on the General tab, which are less technical, so have a look through and customise them to your liking.
After changing these settings click Save changes at the bottom of the page.
Configure Podcast Feed
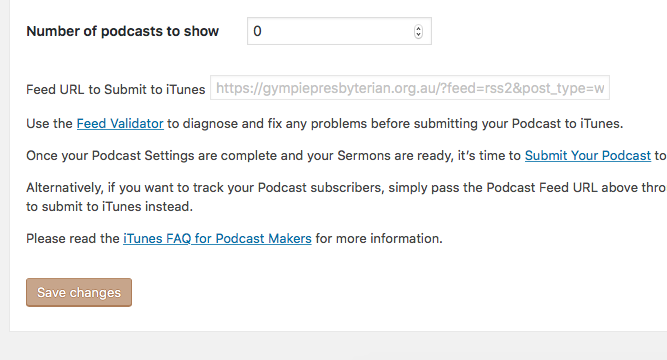
The next step is to set up the podcast. To do this, click on the Podcast tab. In this section, there are some boxes you need to fill in—like the name of the podcast feed, copyright details etc. You will need to specify a square cover image that’s at least 1440px square. All of the technical options can be left with the default setting unless things don’t work.
At the bottom of the page, there is a box which gives the Feed URL to Submit to iTunes.
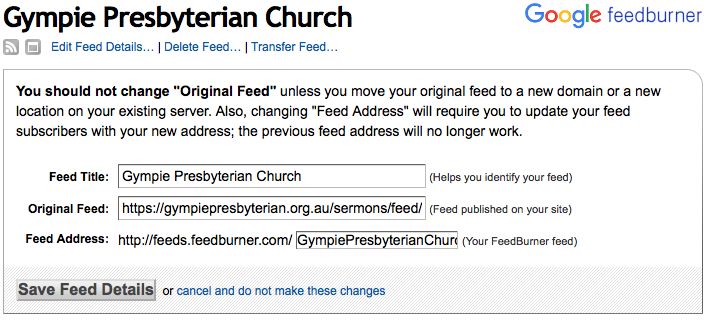
Although you can submit this link directly to iTunes, it’s better to use a service like FeedBurner. The benefits of using FeedBurner are
- If you change your website, such as using a different plugin or moving to a new CMS, you can update FeedBurner, and subscribers don’t need to change anything. (There are fancy ways to do this with redirects, but this much more accessible.)
- FeedBurner also has some fancy tools to make your podcast feed work well.
Using FeedBurner is very easy. You’ll need a google account to log in, and once you’ve logged in, you copy the feed URL from Sermon Manager, and paste it into the box on the front page. Select I am a podcaster! and click Next».

You’ll then be able to customise the Title and URL of your feed.
Once you’ve saved those settings, you should test whether your feed is valid (and trust me, this can be a bit of fiddling). Grab your new FeedBurner podcast URL, try it out at Cast Feed Validator and Feed Validator, and hopefully, there are no errors.
Submit to Podcast Libraries
Once you’ve got a valid feed, it’s time to submit to Apple Podcasts. Apple has instructions on how to submit a podcast feed. However, not everyone uses Apple Podcasts, so you should also submit your feed to stitcher. Both require a user account to submit a podcast to their directory.
Once you’ve done all this, it’s time to get Backblaze B2 ready to store your files.